Imagine the smell of toasted flour and savory spices wafting through your kitchen, mimicking that nostalgic country store aroma!
Do you really think you need a giant vat of bubbling oil to achieve that legendary restaurant-style crunch?
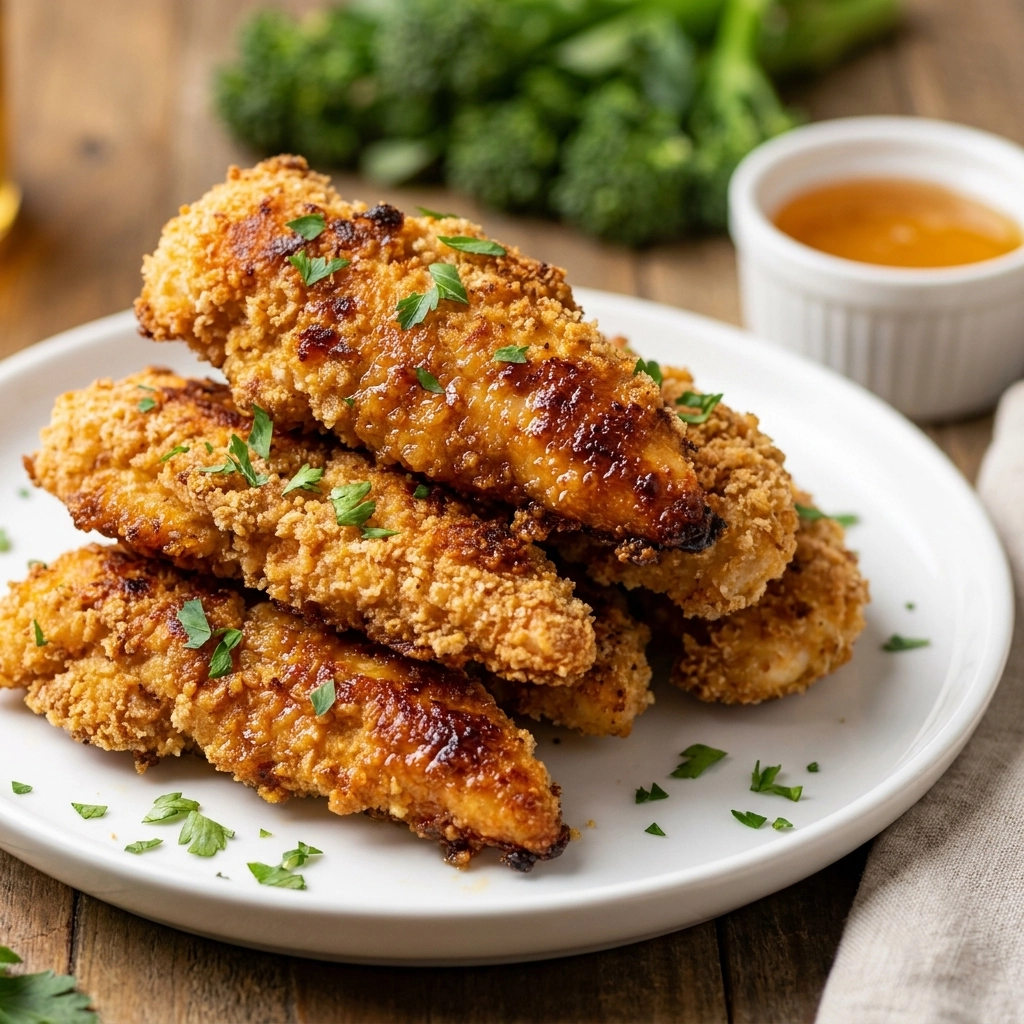
This recipe transforms simple chicken tenderloins into golden, crispy masterpieces using nothing but your air fryer!
Everyone loves these because they balance a salty, seasoned crust with a tender, juicy interior that melts in your mouth.
While store-bought frozen strips often taste like cardboard, these homemade versions use fresh ingredients and a custom spice blend for a superior flavor profile.
This is the absolute perfect dish for picky eaters, hungry teenagers, or anyone craving a bit of comfort food on a weeknight.
Let’s dive into the secrets of getting that perfect breading every single time!
- ●Why You’ll Love This Recipe
- ●A Brief Background / Why This Recipe Works
- ●Perfect For Busy Weeknights and Family Dinners
- ●Chicken Tenderloin Spotlight
- ●Seasoned Flour Spotlight
- ●Key Ingredients
- ●How to Make It
- ●Pro Tips
- ●Delicious Variations
- ●Best Ways to Serve
- ●Storage and Leftovers
- ●Frequently Asked Questions
- ●Why This Recipe Belongs in Your Weekly Rotation
- ●Final Thoughts
Once you try this method, you will never go back to the deep fryer because the results are just as satisfying without the greasy cleanup!
- ●Incredibly crispy exterior that mimics the original restaurant style.
- ●Much lower fat content than traditional deep-frying.
- ●Preparation takes very little time from start to finish.
- ●Consistent cooking results thanks to the air fryer’s convection heat.
- ●Easily customizable spice levels to suit your family’s taste.
- ●Uses simple pantry staples you likely already have on hand.
- ●The chicken remains juicy inside while the outside stays crunchy.
- ●Perfect for meal prepping as they reheat beautifully.
- ●Kids absolutely adore the finger-food nature of this meal.
- ●Clean-up is a breeze compared to scrubbing oil pots.
If you love bold flavors, try our Scrumptious Garlic Parmesan Air Fryer Chicken Recipe
A Brief Background / Why This Recipe Works |
The secret to the famous country-style tenderloin is the double-coating technique and a specific balance of salt, pepper, and paprika. air fryer, we create a high-velocity wind tunnel of heat that sets the breading instantly, locking in the moisture of the meat.
You’ll notice that using tenderloins specifically—rather than breast chunks—provides a more uniform shape and a more tender texture. The natural leaness of the tenderloin allows the seasonings to shine without being overpowered .
Trust your nose here; the moment the paprika and garlic powder hit the heat, they bloom, creating that savory scent that signals a comfort meal is almost ready. It is all about the rapid dehydration of the surface layer to create that distinct ‘snap’ when you bite in.
Ultimately, this recipe works because it respects the chemistry of breading while leveraging modern kitchen technology.
Perfect For Busy Weeknights and Family Dinners |
When the clock is ticking and the kids are hungry, this recipe is a lifesaver. You can go from raw chicken to a plated dinner in under 20 minutes, making it a stress-free solution for those chaotic Monday nights.
For meal prep enthusiasts, these are a dream. You can bread the chicken in advance and keep them chilled, then simply pop them in the air fryer when you get home from work for a fresh, hot meal.
Family dinners are always more successful when the food is crowd-pleasing. These tenders bridge the gap between healthy eating and indulgent flavors, ensuring everyone leaves the table satisfied.
Chicken Tenderloin Spotlight |
Chicken tenderloins are the star of the show because they are more tender than the breast and more consistent than the thigh. Their small size ensures they cook through perfectly at the same time the breading reaches its peak golden color. Because they are lean, they take on the flavors of the brine or seasoning extremely well.
Seasoned Flour Spotlight |
All-purpose flour provides the structural base for the crust, creating a sturdy shell that holds the seasonings. A smart substitution for those avoiding gluten is a 1:1 gluten-free flour blend.
Paprika adds that iconic reddish-gold hue and a subtle earthiness that defines the country-style taste. You can substitute this with smoked paprika if you want a deeper, wood-fired flavor.
Garlic Powder delivers a savory, pungent punch that cuts through the richness of the breading. Onion powder is a great alternative if you prefer a sweeter, more mellow aromatic profile.
Key Ingredients |
Gather these essentials to ensure your tenders have that professional, restaurant-grade finish!
- ●Chicken Tenderloins — the lean, tender cut of meat that ensures juicy results
- ●All-Purpose Flour — the primary coating agent for a classic crunch
- ●Egg — the binder that ensures the flour sticks to the meat
- ●Buttermilk — adds tanginess and tenderizes the chicken fibers
- ●Paprika — provides the signature color and mild sweetness
- ●Garlic Powder — adds a savory depth of flavor
- ●Salt — enhances all other seasonings and seasons the meat
- ●Black Pepper — provides a subtle heat and aromatic spice
- ●Cooking Oil Spray — essential for achieving a golden-brown finish in the air fryer
 How to Make It |
Follow these steps closely to ensure your breading doesn’t slide off and your chicken stays moist!
- Prepare the dredging station: Whisk the flour, paprika, garlic powder, salt, and pepper in a shallow bowl until perfectly combined. Ensure there are no clumps of seasoning, as these will create uneven spots on your chicken.
- Create the liquid binder: Beat the eggs and buttermilk together in a second bowl until smooth. Your mixture should be uniform and frothy to ensure an even coating on every piece of meat.
- Coat the chicken: Press each tenderloin firmly into the seasoned flour, then dip it into the egg mixture, and return it to the flour for a final press. Pro tip: Use your fingers to literally press the flour into the meat to prevent the breading from peeling off during cooking.
- Arrange in the basket: Place the tenders in a single layer in the air fryer basket, leaving about half an inch of space between each piece. Overcrowding will lead to steamed chicken rather than crispy chicken.
- Apply the oil: Spray the tops of the tenders generously with cooking oil spray until no dry flour spots remain. Pro tip: This step is non-negotiable because dry flour in an air fryer stays powdery and tastes raw.
- Air fry to perfection: Cook at 400°F for 10-12 minutes, flipping halfway through and spraying the other side with oil. Listen for the sizzle and look for a deep golden-brown color across the entire surface.
- Rest the meat: Transfer the tenders to a wire rack for 3 to 5 minutes before serving. Pro tip: Resting allows the juices to redistribute, ensuring the first bite is succulent rather than dry.
For another crispy delight, try our Coconut Chicken Tenders In An Air Fryer Quick Crispy
1Master these small details to take your chicken from ‘good’ to ‘legendary’!
- ●2Pat Dry: Always pat your chicken dry with paper towels before dredging to help the flour adhere better.
- ●3Temperature Check: Use a meat thermometer to ensure the internal temperature reaches 165°F without overcooking.
- ●4Avoid Over-mixing: When beating the eggs, don’t over-whisk, or you’ll incorporate too much air, which can create bubbles in the crust.
- ●5Oil Choice: Use an avocado or olive oil spray for a higher smoke point and cleaner taste.
- ●6Batch Cooking: If cooking in batches, keep the breaded tenders on a parchment-lined tray in the fridge to maintain their shape.
7Your pan should be clean and ready for action! For a different twist on poultry, see our Air Fryer Honey Butter Garlic Chicken Tenders Easy Crispy Chicken Dinner
Delicious Variations |
Once you’ve mastered the classic, feel free to experiment with these flavor twists!
- ●Spicy Kick: Add a teaspoon of cayenne pepper or chipotle powder to the flour mix.
- ●Herby Crust: Mix in dried oregano and parsley for a more Mediterranean-inspired flavor.
- ●Cheesy Twist: Add grated parmesan cheese to the flour for an extra salty, savory crunch.
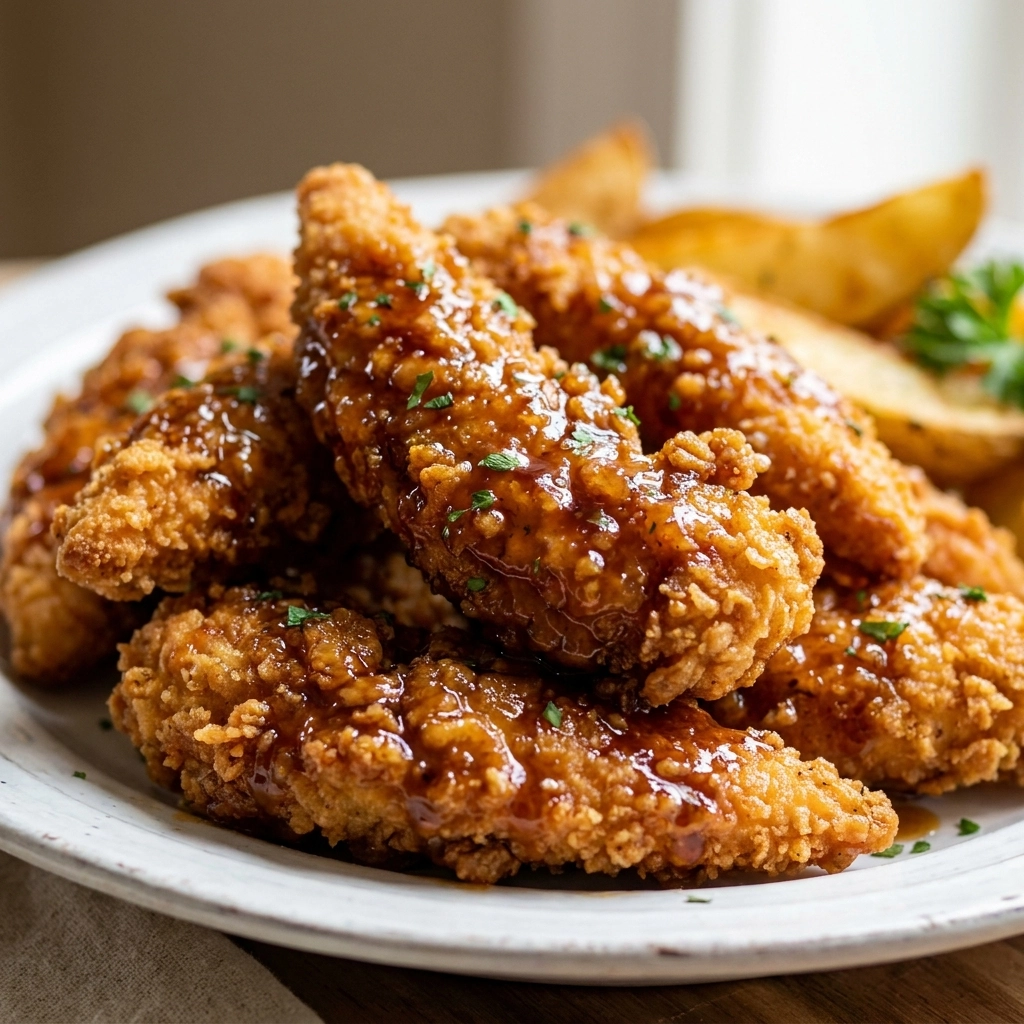
- ●Honey Glaze: Brush the tenders with a mixture of honey and melted butter immediately after cooking.
- ●Cornflake Crunch: Replace half the flour with crushed cornflakes for an even more aggressive crunch.
These variations make it easy to keep the menu exciting for your family every single week!
Best Ways to Serve |
These tenders are incredibly versatile and pair well with almost any side dish you can imagine!
- ●Serve with a side of creamy honey mustard or classic barbecue sauce for dipping.
- ●Pair with a crisp coleslaw and corn on the cob for a full southern-style feast.
- ●Place them on top of a large Caesar salad for a hearty, protein-packed lunch.
- ●Serve with garlic mashed potatoes and steamed green beans for a cozy dinner.
You’ll notice that the contrast between the hot, crunchy chicken and a cool dipping sauce is what makes this meal so satisfying. Don’t be afraid to offer a variety of sauces like ranch, sriracha mayo, or buffalo sauce to let everyone customize their plate.
If you’re looking for something more wrap-style, check out our Crunchy Air Fryer Chicken Mozzarella Wraps Recipe
Storage and Leftovers |
Refrigerating
Store leftover tenders in an airtight container with a piece of parchment paper between layers to prevent sticking. They will stay fresh and safe to eat for up to 4 days in the refrigerator.
Reheating
To maintain the crunch, avoid the microwave at all costs, as it will make the breading soggy. Instead, place them back in the air fryer at 350°F for 3-5 minutes until heated through and crispy again.
Freezing
You can freeze cooked tenders for up to 3 months by flash-freezing them on a tray first before transferring them to a freezer bag. This prevents them from clumping together into one giant mass of chicken.
For more quick meal ideas, check out our Easy Fresh Air Fryer Chicken Fajitas Recipe
Frequently Asked Questions |
- ●Q: Can I use chicken breasts instead of tenderloins?A: Yes, you can certainly use chicken breasts, but you must slice them into strips of equal thickness. If the pieces are too thick, the outside will burn before the inside is fully cooked, so aim for about 1-inch thickness.
- ●Q: Why is my breading falling off the chicken?A: This usually happens if the chicken was too wet before dredging or if you didn’t press the flour firmly into the meat. Ensure you pat the meat dry and use the double-dredge method for a secure, lasting crust.
- ●Q: Do I really need to spray them with oil?A: Absolutely! In an air fryer, the flour needs a bit of fat to undergo the Maillard reaction, which creates the brown, crispy exterior. Without oil, you will end up with white, powdery patches that taste like raw flour.
- ●Q: How do I know when the chicken is done?A: The best way is to use an instant-read meat thermometer to confirm the internal temperature has reached 165°F. Visually, the chicken should be golden brown and the juices should run clear when pierced with a fork.
- ●Q: Can I make these in a conventional oven?A: You can, but they won’t be as crispy as the air fryer version. If using an oven, bake at 400°F on a wire rack over a baking sheet for 15-20 minutes, flipping halfway through to ensure even browning.
- ●Q: What is the best substitute for buttermilk?A: If you don’t have buttermilk, you can make a quick version tablespoon of lemon juice or white vinegar to one cup of whole milk. Let it sit for 5 minutes before using it in the binder.
Why This Recipe Belongs in Your Weekly Rotation |
This recipe solves the age-old dilemma of wanting comfort food while trying to avoid the heaviness of deep frying. It brings a restaurant-quality experience into your home with minimal effort and maximum flavor reward.
Because it is so fast, it removes the barrier to cooking at home on busy nights. You no longer have to rely on expensive takeout when you can have a golden, crispy plate of tenders ready in minutes.
It is a flexible, reliable, and universally loved dish that simplifies your meal planning. Once you see how much your family loves these, they will become a requested staple every single week!
For another fast option, try our Quick Flavorful Air Fryer Chicken Fajitas Recipe
Final Thoughts |
These air fryer tenderloins combine the nostalgia of country-style cooking with the efficiency of modern technology. By using a simple double-dredge and a touch of oil spray, you achieve a professional crunch that rivals any restaurant.
You should make this recipe because it is a rare win-win: it is healthier than frying, faster than baking, and tastes absolutely divine. It is the ultimate crowd-pleaser that requires very little cleanup.
Stop dreaming about those golden-brown strips and get your air fryer humming today!
Crispy Air Fryer Cracker Barrel Chicken Tenderloins
- Total Time: 27 minutes
- Yield: 4 servings 1x
Description
A delicious copycat version of Cracker Barrel’s famous chicken tenderloins, made crispy and golden in the air fryer for a healthier, faster alternative to deep frying.
Ingredients
- 1 lb chicken tenderloins
- 1 cup all-purpose flour
- 1 tsp paprika
- 1 tsp garlic powder
- 1 tsp salt
- 1/2 tsp black pepper
- 1 large egg
- 1/2 cup buttermilk
- Cooking oil spray (avocado or olive oil)
Instructions
- Whisk together flour, paprika, garlic powder, salt, and pepper in a shallow bowl.
- In a separate bowl, beat the egg and buttermilk together until smooth.
- Dredge chicken tenderloins in the seasoned flour, dip in the egg mixture, and coat in flour again, pressing firmly.
- Place tenderloins in a single layer in the air fryer basket.
- Spray the tops of the chicken generously with cooking oil spray.
- Air fry at 400°F for 6 minutes, then flip and spray the other side.
- Cook for another 6 minutes or until internal temperature reaches 165°F.
- Let rest on a wire rack for 3-5 minutes before serving.
- Prep Time: 15 minutes
- Cook Time: 12 minutes
- Category: Dinner
- Method: Air Frying
- Cuisine: American