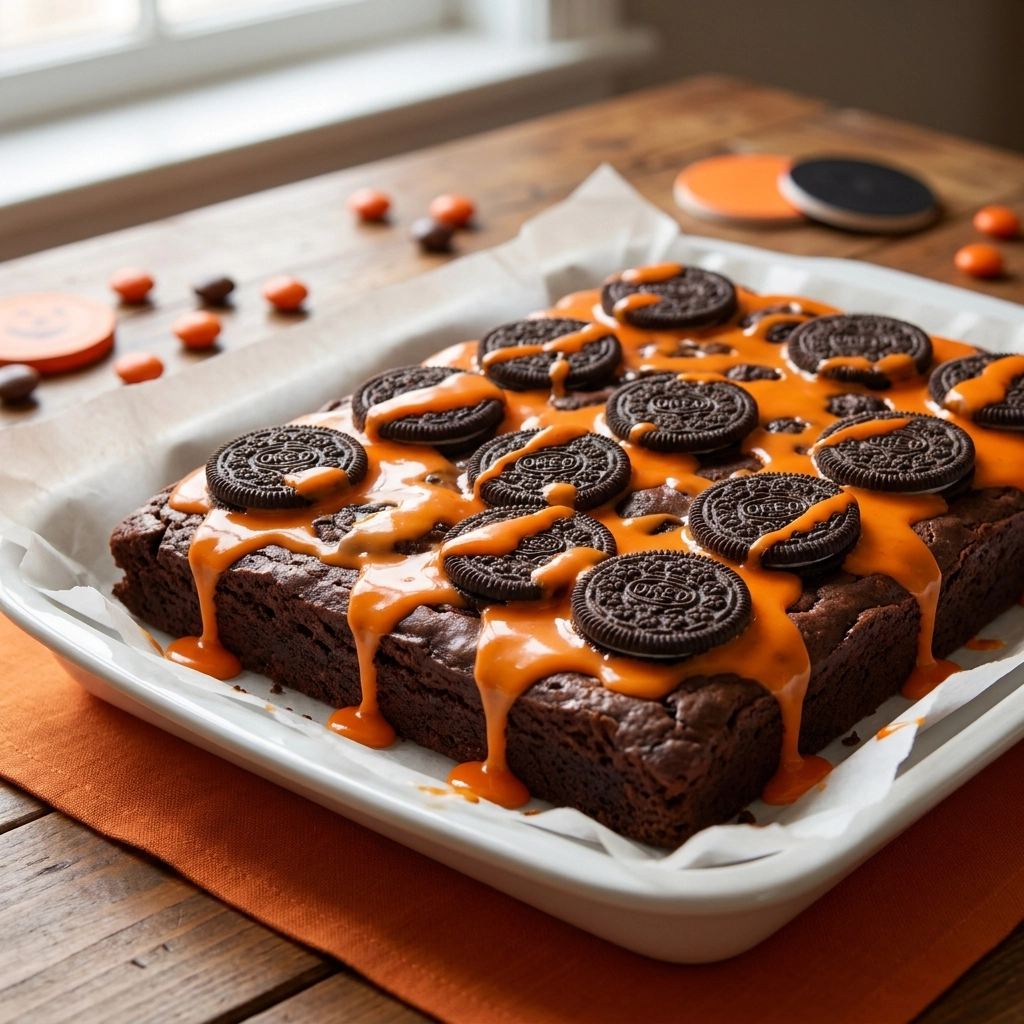
I still remember the first time these hit the oven; the kitchen immediately filled with a heavy, intoxicating scent of melting cocoa and vanilla. I remember the distinct sound of sizzling butter in the pan, a tiny symphony that promised something decadent was on the way.
These Oreo Brownies are a daring experiment in texture, combining a dense, fudgy base with the iconic crunch of chocolate sandwich cookies. They are an invitation to play with your food and embrace the chaos of October.
People adore this recipe because it transforms a standard dessert into a celebratory event. It turns a simple craving into a festive centerpiece.
The magic lies in the layers, creating a contrast that store-bought brownies simply cannot replicate. You get the sophistication of a cocoa-rich cake paired with the nostalgia of a childhood snack.
This recipe is perfect for the adventurous home baker who wants to impress a crowd without spending all night in the kitchen. It caters to everyone from the chocolate purist to the kid who just wants more cookies.
Let us dive into the ingredients and start this culinary adventure. You might also enjoy the Tempting Spooky Monster Mash Brownies Recipe For Halloween
- ●Why You’ll Love This Recipe
- ●A Brief Background on the Magic
- ●Perfect For Spooky Parties and Family Treats
- ●The Power of the Oreo
- ●The Role of Cocoa and Butter
- ●Key Ingredients
- ●How to Make It
- ●Pro Tips
- ●Delicious Variations
- ●Best Ways to Serve
- ●Storage and Leftovers
- ●Frequently Asked Questions
- ●Why This Recipe Belongs in Your Weekly Rotation
- ●Final Thoughts
There is something uniquely satisfying about the way these brownies come together to create a dessert that feels both luxurious and playful.
- ●The texture is an incredible mix of gooey center and crisp cookie edges.
- ●They require very few specialized tools, making them accessible for beginners.
- ●The chocolate-on-chocolate profile satisfies the deepest cravings.
- ●You can easily decorate them to look like monsters, ghosts, or pumpkins.
- ●The preparation time is minimal compared to the massive flavor payoff.
- ●They stay moist for days, which is great for party planning.
- ●The ingredient list is mostly pantry staples.
- ●They evoke a sense of nostalgia that brings guests together.
- ●The richness is balanced filling of the cookies.
Once you taste the synergy of the fudgy batter and the embedded cookies, you will never go back to plain brownies.
A Brief Background on the Magic |
Brownies have always been a staple of American baking, but the addition of pre-made cookies adds a layer of modern indulgence. This approach transforms the brownie from a simple cake-like dessert into a complex confectionery experience.
The chemistry here is simple: the fats from the butter and the sugars from the Oreo filling melt together. This creates pockets of creamy sweetness inside a dark chocolate landscape. Does it get any better than that?
It is a recipe designed for exploration, encouraging you to add your own twists to the mix.
Perfect For Spooky Parties and Family Treats |
These treats are a dream for busy weeknights when you need a quick win to cheer up the family. The fast prep time means you can have a warm dessert ready even after a long day of work.
For those who love meal prep, these brownies are ideal. You can bake a large batch on Sunday and have treats ready for school lunches or mid-week cravings throughout the week.
Family dinners during the holidays benefit from this recipe because it is a crowd-pleaser. Everyone from toddlers to grandparents loves the combination of Oreos and chocolate. If you need a savory contrast, try the Spooky Mummy Jalapeno Poppers Recipe For Halloween Fun
The Power of the Oreo |
The Oreo is more than just a cookie; it is a structural element in this recipe. The dark cocoa of the wafer reinforces the brownie’s color, while the cream filling creates tiny, molten lava pockets of sweetness.
Because they hold their shape slightly during the bake, they provide a necessary bite that prevents the brownie from feeling one-dimensional. They add a professional, bakery-style look to the final product without requiring advanced skills.
The Role of Cocoa and Butter |
Butter provides the essential richness and that melt-in-your-mouth quality. It carries the flavor of the chocolate throughout the entire batter, ensuring no bite is bland.
Cocoa powder adds the depth and intensity. By using a high-quality unsweetened cocoa, we can control the sweetness and ensure the dessert tastes like real chocolate rather than just sugar. Have you ever noticed how the quality of cocoa can completely change a dessert?
Key Ingredients |
Gather these essentials to begin your baking journey.
- ●Unsalted Butter — Provides the rich, creamy base and moisture. Substitution: Coconut oil for a dairy-free alternative.
- ●Granulated Sugar — Creates the classic crackly top and sweetness. Substitution: Brown sugar for a more caramel-like flavor.
- ●Eggs — Acts as the binder to hold everything together. Substitution: Flax eggs for a vegan version.
- ●Cocoa Powder — Delivers the deep, dark chocolate essence. Substitution: Melted dark chocolate for an even richer taste.
- ●All-Purpose Flour — Gives the brownies their structure. Substitution: Almond flour for a gluten-free twist.
- ●Vanilla Extract — Enhances all the other chocolate notes. Substitution: Maple syrup for a woody sweetness.
- ●Oreo Cookies — Adds the signature crunch and creamy centers. Substitution: Any chocolate sandwich cookie.
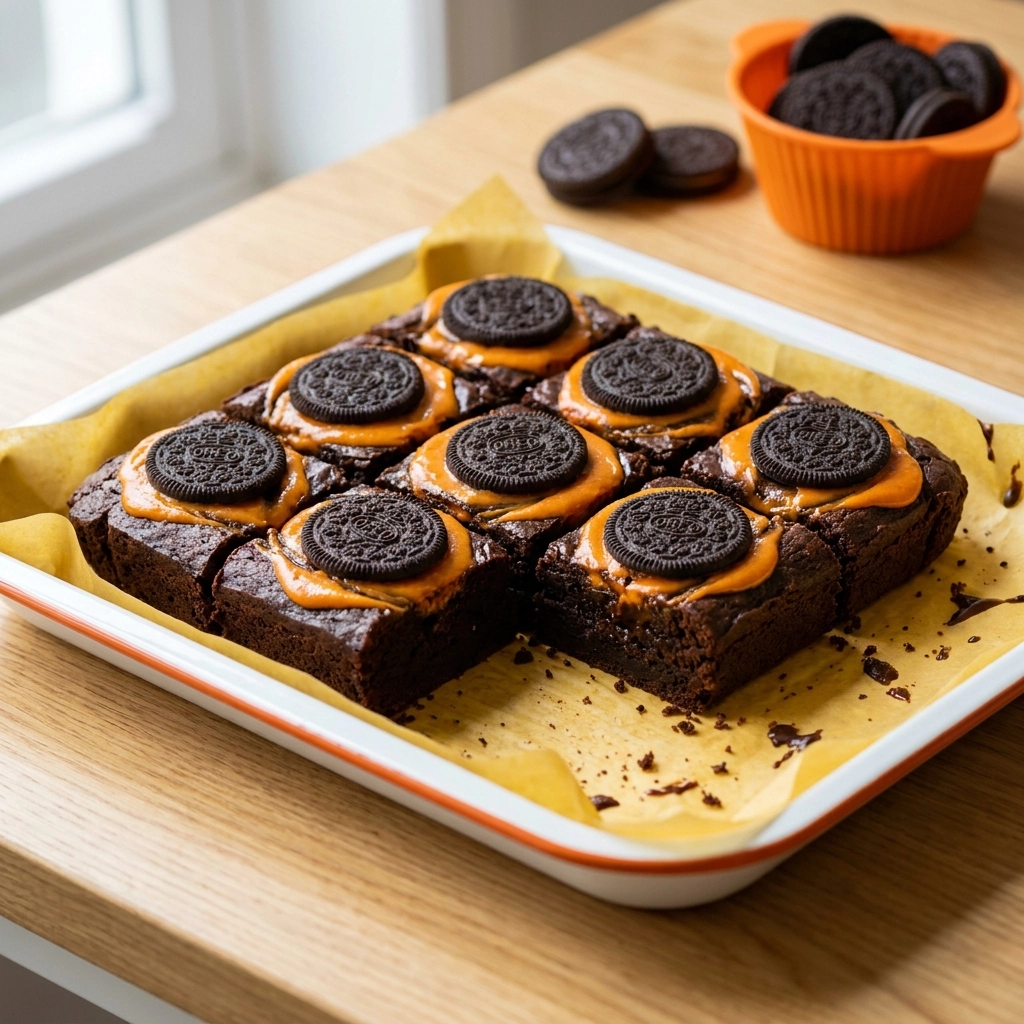 How to Make It |
Let’s get our hands dirty and create something delicious. Just follow along and don’t be afraid to get a little messy.
- Prep your station: Preheat your oven to 350°F and grease an 8×8 inch baking pan. I suggest lining it with parchment paper so you can lift the whole slab out later without any stress.
- Melt the base: Melt your butter in a microwave or on the stove until it is liquid but not boiling. You want it smooth and glistening; if it separates, just give it a quick stir to bring it back together.
- Whisk in the sweetness: Stir your sugar into the melted butter. You are looking for a gritty mixture at first, which is perfectly normal before the eggs provide the moisture.
- Bind the batter: Beat in the eggs and vanilla extract one by one. Keep whisking until the batter looks glossy and smooth; this is the secret to getting that beautiful, thin crust on top.
- Fold in the dry goods: Sift in your cocoa powder and flour. Gently fold them in with a spatula rather than whisking aggressively, as over-mixing can make your brownies tough instead of fudgy.
- Add the cookies: Fold in your coarsely chopped Oreos. I like to leave some chunks large so they create those amazing Oreo craters in the finished brownie.
- Bake to perfection: Pour the batter into the pan and bake for about 20 to 25 minutes. Start checking at 20 minutes; a toothpick inserted in the center should come out with a few moist crumbs, not raw batter.
- The hard part—waiting: Let the brownies cool completely in the pan. If you cut them while they are hot, they might fall apart, and you lose that dense, fudgy consistency.
1A few small tweaks can take these from great to legendary.
- ●2Don’t Overbake: This is the most common mistake. Take them out when they look slightly underdone in the middle; they will firm up as they cool.
- ●3Use Room Temperature Eggs: This helps the batter emulsify better, resulting in a smoother texture.
- ●4Salt the Top: A tiny pinch of flaky sea salt on top after baking cuts through the richness perfectly.
- ●5Quality Cocoa: Use Dutch-processed cocoa for a darker color and a smoother, less acidic taste.
- ●6Chill the Pan: For the cleanest squares, put the cooled pan in the fridge for an hour before slicing.
7If you are planning a full dessert table, you might also like the Spooky Halloween Cookies Recipe Fun Creepy Treats
Delicious Variations |
Treat this recipe as a canvas and feel free to paint it with different flavors.
- ●Peanut Butter Swirl: Microwave a bit of peanut butter and swirl it on top before baking.
- ●White Chocolate Chips: Fold in white chocolate chips for a visually striking contrast.
- ●Minty Fresh: Use Mint Oreos instead of the original ones for a refreshing twist.
- ●Boozy Brownies: Add a tablespoon of coffee liqueur or bourbon to the batter.
- ●Pumpkin Spice: Mix in a teaspoon of pumpkin pie spice for a seasonal aroma.
Experimenting with these options ensures that your treats are always a surprise for your guests.
Best Ways to Serve |
Presentation is everything when you are aiming for a spooky vibe.
- ●The Monster Look: Top each square with a dollop of green frosting and two candy eyes.
- ●The Graveyard: Dust the top with powdered sugar and stick in a cookie as a headstone.
- ●The Lava Flow: Serve warm with a scoop of vanilla ice cream and a drizzle of raspberry syrup.
- ●The Platter: Arrange them on a black platter with orange napkins for a classic Halloween feel.
Serving these on a wooden board with some fresh berries provides a nice balance of flavors. The tartness of the fruit cuts through the heavy chocolate.
You can also serve them as mini-bites into 1-inch squares and sticking a toothpick in each one. For more creepy snacks, try the Spooky Vampire Bite Crescent Rolls Recipe For Halloween Fun
Storage and Leftovers |
Refrigerating
Store the brownies in an airtight container in the fridge for up to 5 days. This actually makes them denser and more fudge-like.
Reheating
Pop a square in the microwave for 10 to 15 seconds. This restores the gooey texture and makes the Oreo filling soft again.
Freezing
Wrap individual squares in plastic wrap and freeze for up to 3 months. Thaw them in the fridge overnight before serving.
Frequently Asked Questions |
- ●Q: Why are my brownies cakey instead of fudgy?A: This usually happens if you use too much flour or over-beat the eggs and flour. To keep them fudgy, avoid over-mixing the batter and ensure you are using the correct ratio of butter to flour.
- ●Q: Can I use a different brand of cookies?A: Absolutely, any chocolate sandwich cookie with a cream filling will work perfectly here. The key is the combination of a crunchy chocolate exterior and a creamy interior to maintain the intended texture.
- ●Q: How do I stop the Oreos from sinking to the bottom?A: Make sure your batter is thick enough before folding in the cookies. If the batter is too runny, the cookies will slide down; folding them in gently at the very end helps them stay suspended.
- ●Q: Can I make these without a baking pan?A: You need a pan to maintain the shape, but you can use a glass pyrex or a metal cake pan. Just be sure to adjust the baking time slightly as glass retains heat differently than metal.
- ●Q: Is it possible to make these vegan?A: Yes, you can substitute the butter with coconut oil and use flax eggs or commercial egg replacers. Ensure you use the vegan version of Oreo cookies to keep the entire recipe plant-based.
- ●Q: My brownies stuck to the pan, what happened?A: This is likely due to insufficient greasing or omitting the parchment paper. Always use a generous amount of butter or a non-stick spray, and parchment paper is the safest bet for easy removal.
Why This Recipe Belongs in Your Weekly Rotation |
Integrating these brownies into your routine brings a sense of joy and indulgence to the mundane parts of the week. They are a reliable way to brighten someone’s day or treat yourself after a hard project.
Because they are so versatile, you can adapt them for any holiday or mood. They bridge the gap between a simple snack and a gourmet dessert with very little effort.
The ease of storage and the sheer delight they bring to every age group make them an essential tool in your baking arsenal. You will find yourself reaching for this recipe long after Halloween is over.
For more festive ideas, check out the Scary Halloween Cupcakes Cakes Recipes For Spooky Fun
Final Thoughts |
These Oreo Brownies are a masterful blend of fudgy chocolate and cookie crunch, designed to be the star of any spooky gathering. From the sizzling butter to the final slice, the process is a journey of flavor.
You should make these because they offer a professional-grade result with minimal stress. They provide a way to create lasting memories with friends and family through the universal love of chocolate.
Grab your apron, gather your cookies, and let the spooky baking adventure begin today!
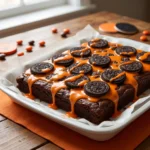
The Best Halloween Oreo Brownies Recipe for Spooky Fun!
- Total Time: 40 minutes
- Yield: 16 squares 1x
Description
A decadent, fudgy brownie loaded with crushed Oreo cookies for a perfect blend of crunch and cream. Ideal for Halloween parties and chocolate lovers.
Ingredients
- 1/2 cup unsalted butter, melted
- 1 cup granulated sugar
- 2 large eggs
- 1 teaspoon vanilla extract
- 1/3 cup unsweetened cocoa powder
- 1/2 cup all-purpose flour
- 1/4 teaspoon salt
- 1 cup Oreo cookies, coarsely chopped
Instructions
- Preheat your oven to 350°F (175°C) and line an 8×8 inch baking pan with parchment paper.
- In a large bowl, stir together the melted butter and granulated sugar until combined.
- Whisk in the eggs and vanilla extract until the mixture is smooth and glossy.
- Sift in the cocoa powder, flour, and salt, then gently fold with a spatula until just combined.
- Fold in the chopped Oreo cookies, ensuring they are evenly distributed throughout the batter.
- Pour the batter into the prepared pan and smooth the top with a spatula.
- Bake for 20-25 minutes, or until a toothpick inserted in the center comes out with a few moist crumbs.
- Allow the brownies to cool completely in the pan before slicing into squares.
- Prep Time: 15 minutes
- Cook Time: 25 minutes
- Category: Dessert
- Method: Baking
- Cuisine: American