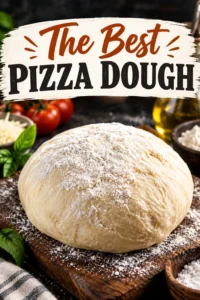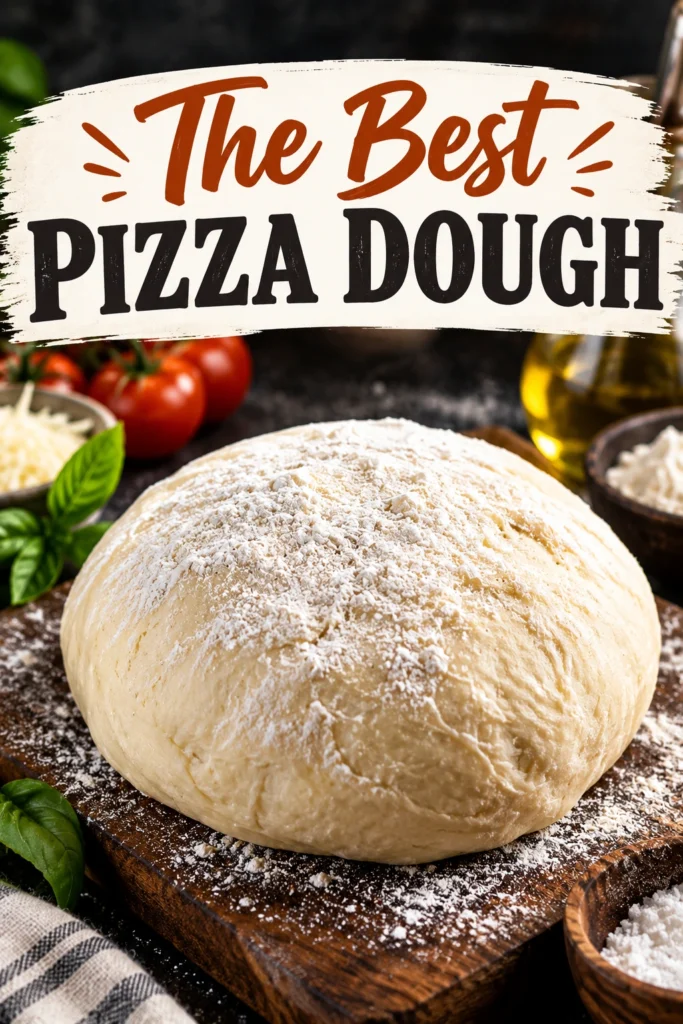
Finding the time to make dinner on a hectic Tuesday often leads to store-bought shortcuts that leave the crust tasting like cardboard. A reliable dough eliminates that frustration by providing a base that is ready when you are.
This recipe produces a versatile, high-quality pizza crust suitable for any topping combination. It balances a crisp, golden exterior with a tender, chewy crumb.
Home cooks appreciate how simple the ingredient list is compared to the professional results it yields. The process is straightforward enough for beginners but detailed enough to satisfy experienced bakers.
Unlike pre-made doughs that often contain preservatives and excess sugar, this version relies on fresh ingredients for a clean, classic taste. It avoids the rubbery texture common in supermarket alternatives.
Anyone looking to elevate their weekend dinner routine or prep a batch of dough for the week will find this useful. It works equally well for thin-crust styles or thicker, airy bases.
Preparing the dough requires only a few basic pantry staples and a bit of patience. The following guide outlines exactly how to achieve a bakery-style crust in your own kitchen.
- ●Why You’ll Love This Recipe
- ●A Brief Background on Why This Recipe Works
- ●Perfect For Family Pizza Nights and Meal Prep
- ●Main Ingredient Spotlight: Bread Flour
- ●Secondary Ingredient Spotlight: Active Dry Yeast
- ●Key Ingredients
- ●How to Make It
- ●Pro Tips
- ●Delicious Variations
- ●Best Ways to Serve
- ●Storage and Leftovers
- ●Frequently Asked Questions
- ●Why This Recipe Belongs in Your Weekly Rotation
- ●Final Thoughts
Creating a professional crust at home is more accessible than it seems when you have a consistent formula. This dough focuses on balance and simplicity.
- ●Achieves a crisp bottom without needing a commercial pizza oven.
- ●Produces a chewy interior that holds up under heavy toppings.
- ●Uses basic ingredients already found in most kitchens.
- ●Allows for a slow cold-fermentation in the fridge for deeper flavor.
- ●Easily scalable to make multiple pies for a crowd.
- ●Works perfectly for The Finest White Cheese Pizza Recipe Youll Love
- ●Provides a sturdy base that does not sag in the middle.
- ●Can be frozen for quick access on busy weeknights.
- ●Offers a neutral flavor profile that complements any sauce.
These factors combine to make the process rewarding and the result consistently delicious.
A Brief Background on Why This Recipe Works |
The success of a pizza crust depends on the interaction between protein and hydration. ratios, the dough develops a strong structure that can trap gas bubbles during the rise.
Temperature control plays a vital role in how the yeast activates. Using warm, but not hot, water ensures the yeast wakes up without being killed, leading to a steady and predictable rise.
Kneading the dough develops the gluten network, which gives the crust its characteristic chew. Without this step, the pizza would lack the structural integrity needed to support melted cheese and sauce.
The addition of a small amount of sugar provides immediate fuel for the yeast, which helps the dough rise more efficiently and contributes to a golden-brown color during baking.
Perfect For Family Pizza Nights and Meal Prep |
Busy weeknights are often the hardest time to cook, but having a pre-made dough in the fridge turns dinner into a fast, interactive activity. Children and partners can help stretch the dough and add their own favorite toppings.
For those who practice meal prep, this dough is an ideal candidate for freezing. You can prepare several portions on a Sunday and pull one out whenever a quick meal is required.
During holidays or game-day gatherings, these crusts can be shaped into larger rectangles for sheet pan pizzas. This allows you to feed a larger group without spending the entire evening at the oven.
Main Ingredient Spotlight: Bread Flour |
Bread flour is the foundation of this recipe because it contains a higher protein content than all-purpose flour. This extra protein is what creates the gluten structure, resulting in a crust that is chewy rather than crumbly.
The strength of bread flour allows the dough to be stretched thin without tearing. It also helps the crust achieve those airy, charred bubbles that are characteristic of authentic pizzeria pies.
Secondary Ingredient Spotlight: Active Dry Yeast |
Active dry yeast is the biological engine that makes the dough rise. It consumes the sugars in the flour and releases carbon dioxide, creating the pockets of air that make the crust light.
Using this specific type of yeast allows the baker to control the timing of the rise. Whether you need a quick 1-hour dough or a slow overnight ferment, active dry yeast provides the necessary lift.
Key Ingredients |
Each component of this dough serves a specific purpose in achieving the final texture and taste.
- ●Bread Flour — Provides the high protein necessary for a chewy, strong structure.
- ●Active Dry Yeast — Responsible for the leavening process and the rise of the dough.
- ●Warm Water — Activates the yeast and hydrates the flour to form a cohesive dough.
- ●Olive Oil — Adds a subtle richness and prevents the dough from sticking to the bowl.
- ●Sugar — Feeds the yeast for a faster rise and assists in browning the crust.
- ●Salt — Regulates the yeast activity and enhances the overall flavor of the bread.
How to Make It |
Follow these steps carefully to ensure your dough rises properly and reaches the ideal consistency.
- Activate the yeast: Combine warm water, sugar, and yeast in a bowl. Let it sit for 5 to 10 minutes until it becomes foamy; if it doesn’t foam, the yeast may be expired and should be replaced to avoid a flat crust.
- Mix the base: Stir in the olive oil and salt to the yeast mixture. Adding salt after the yeast has activated prevents the salt from inhibiting the yeast’s growth.
- Incorporate the flour: Gradually add the bread flour, stirring with a wooden spoon or a mixer. Stop adding flour once the dough pulls away from the sides of the bowl and becomes a shaggy mass.
- Knead the dough: Turn the dough onto a floured surface and knead 5 to 7 minutes. You are looking for the dough to transform from a sticky clump into a smooth, elastic ball that springs back when poked.
- First rise: Place the dough in a lightly oiled bowl and cover it with a damp cloth. Leave it in a warm, draft-free area for about an hour or until it has doubled in size, which ensures a light and airy texture.
- Punch down and divide: Gently press your fist into the center of the risen dough to release excess gas. Divide the dough into equal portions depending on how many pizzas you plan to make.
- Shape and bake: Roll or stretch the dough into your desired shape on a baking sheet or pizza stone. Avoid using a rolling pin if you want a thicker crust, as rolling can flatten the air bubbles created during the rise.
1Small adjustments in technique can lead to significant improvements in the final crust.
- ●2Use a kitchen scale: Weighing flour in grams is more accurate than using measuring cups, which can pack the flour and lead to a dry, dense dough.
- ●3Avoid overheating water: Ensure your water is between 105F and 115F. Water that is too hot will kill the yeast, while water that is too cold will significantly slow the rise.
- ●4The windowpane test: To check if you have kneaded enough, stretch a small piece of dough. If it stretches thin enough to see light through it without tearing, the gluten is developed.
- ●5Cold fermentation: After the first rise, place the dough in the refrigerator for 24 to 72 hours. This slow process develops a more complex, sourdough-like flavor.
- ●6Preheat your stone: If using a pizza stone, preheat it in the oven for at least 30 minutes. A scorching hot surface creates an immediate sear on the bottom of the dough.
Delicious Variations |
Once you have mastered the basic dough, you can tweak the ingredients to change the flavor profile.
- ●Garlic Herb Crust: Mix dried oregano, garlic powder, and parmesan cheese into the flour before adding the water.
- ●Honey Wheat: Replace a third of the bread flour with whole wheat flour and use honey instead of sugar for a nuttier taste.
- ●Cornmeal Crunch: Sprinkle cornmeal on the baking sheet before laying down the dough for an extra-crispy, textured bottom.
- ●Olive Oil Infusion: Use a high-quality extra virgin olive oil or a garlic-infused oil for a more aromatic crust.
- ●Thin Crust Style: Increase the flour slightly and reduce the rise time to create a denser, crunchier base, similar to Delightful Top Mediterranean Flatbread Pizza Recipe
These adjustments allow you to customize the crust based on the toppings you intend to use.
Best Ways to Serve |
The way you finish and serve your pizza can enhance the overall dining experience.
- ●Classic Margherita: Top with fresh mozzarella, sliced tomatoes, and a drizzle of olive oil.
- ●Hearty Meat Lovers: Load with pepperoni and sausage, which pairs well with a thicker crust.
- ●Creative Appetizers: Use small portions of dough to make Irresistible Pizza Rolls With Crescent Rolls Recipe style bites.
- ●Festive Shapes: During October, mold the dough into pumpkins for Easy Pizza Stuffed Pumpkins A Festive Halloween Delight
For the best results, serve the pizza immediately after it leaves the oven. This ensures the crust stays crisp and the cheese remains perfectly melted.
Pairing the pizza with a fresh arugula salad or a garlic dipping sauce balances the richness of the dough and cheese. Slicing the pizza with a whetstone or a rolling cutter prevents the toppings from sliding off.
Storage and Leftovers |
Refrigerating
Store unused dough in an airtight container or a zip-top bag with a light coating of oil. It will remain fresh for up to 3 days, though it is best used within 48 hours.
Reheating
To reheat cooked pizza, avoid the microwave. Place slices in a skillet over medium heat or in a 350F oven for 5-10 minutes to restore the crust’s crunch.
Freezing
Wrap individual dough balls tightly in plastic wrap and place them in a freezer-safe bag. They can be stored for up to 3 months; thaw slowly in the refrigerator overnight before using.
Frequently Asked Questions |
- ●Q: Why is my pizza dough too sticky to handle?A: Stickiness usually happens when there is too much moisture or not enough flour. Avoid adding massive amounts of flour at once; instead, sprinkle a tablespoon at a time during kneading until the dough clears the bowl. Using a dough scraper can also help manage the stickiness without overworking the gluten.
- ●Q: Can I use all-purpose flour instead of bread flour?A: Yes, you can use all-purpose flour, but the result will be different. All-purpose flour has less protein, which means the crust will be softer and less chewy. It will not have the same structural strength, so it may be harder to stretch very thin without tearing.
- ●Q: What should I do if my dough isn’t rising?A: First, check if your environment is too cold. If the room is chilly, move the bowl to a warmer spot, like inside an oven that is turned off but has the oven light on. If it still doesn’t rise after another hour, your yeast may have been dead.
- ●Q: How do I stop the dough from shrinking back when I stretch it?A: This happens because the gluten is too tight. Let the dough rest for 10 to 15 minutes after its first shaping. This relaxes the gluten proteins, allowing the dough to stretch easily without snapping back into a smaller circle.
- ●Q: Do I have to use a pizza stone for a crispy crust?A: A stone is helpful, but not required. You can achieve a similar effect by flipping a baking sheet upside down and preheating it in the oven. This provides a flat, hot surface that mimics the heat distribution of a professional pizza oven.
- ●Q: Can I make this dough vegan?A: This recipe is naturally vegan as it does not contain dairy or eggs. However, ensure that the sugar you use is processed according to your dietary preferences. You can use any plant-based oil in place of olive oil, though olive oil provides the most traditional flavor.
Why This Recipe Belongs in Your Weekly Rotation |
Having a go-to dough recipe simplifies dinner planning. It removes the reliance on expensive takeout and processed frozen options, giving you full control over the ingredients.
The versatility of a homemade base means you can adapt it for any occasion, from a simple lunch to a complex dinner party. It serves as a canvas for any flavor profile you desire.
Ultimately, the satisfaction of pulling a fresh, aromatic pizza from your own oven is unmatched. It turns a routine meal into a culinary event that the whole family can enjoy.
Final Thoughts |
This homemade pizza dough combines simple pantry staples with a few key techniques to create a bakery-quality crust. the correct flour and allowing for a proper rise, you achieve the ideal balance of crunch and chew.
Making your own dough allows you to customize every aspect of your pizza, from the thickness of the crust to the fermentation time. It is a rewarding process that yields a significantly better taste than store-bought alternatives.
Gather your ingredients and start your first batch today to experience the difference of a truly fresh crust.
The Best Pizza Dough
- Total Time: 35 minutes
- Yield: 2 medium pizzas 1x
Description
A versatile, professional-grade pizza dough that is easy to make at home. This recipe produces a crust with a golden, crispy exterior and a soft, chewy center.
Ingredients
- 3 1/4 cups bread flour
- 1 packet (2 1/4 tsp) active dry yeast
- 1 cup warm water (105-115F)
- 1 tsp sugar
- 2 tbsp olive oil
- 1 tsp salt
Instructions
- Combine warm water, sugar, and yeast in a large bowl and let sit for 10 minutes until foamy.
- Stir in the olive oil and salt until well combined.
- Gradually stir in the bread flour until a shaggy dough forms and pulls away from the sides of the bowl.
- Turn the dough onto a floured surface and knead by hand for 5-7 minutes until smooth and elastic.
- Place dough in a lightly oiled bowl, cover with a damp cloth, and let rise in a warm place for 1 hour or until doubled in size.
- Gently punch down the dough and divide it into two equal portions.
- Stretch or roll the dough into pizza circles, add toppings, and bake at 475F (245C) for 12-15 minutes until golden brown.
- Prep Time: 20 minutes
- Cook Time: 15 minutes
- Category: Dinner
- Method: Baking
- Cuisine: Italian-American