It is 4:00 PM on a rainy Tuesday in November, and the house feels slightly too quiet.
You are craving something that tastes like a warm hug but requires the effort of about three brain cells.
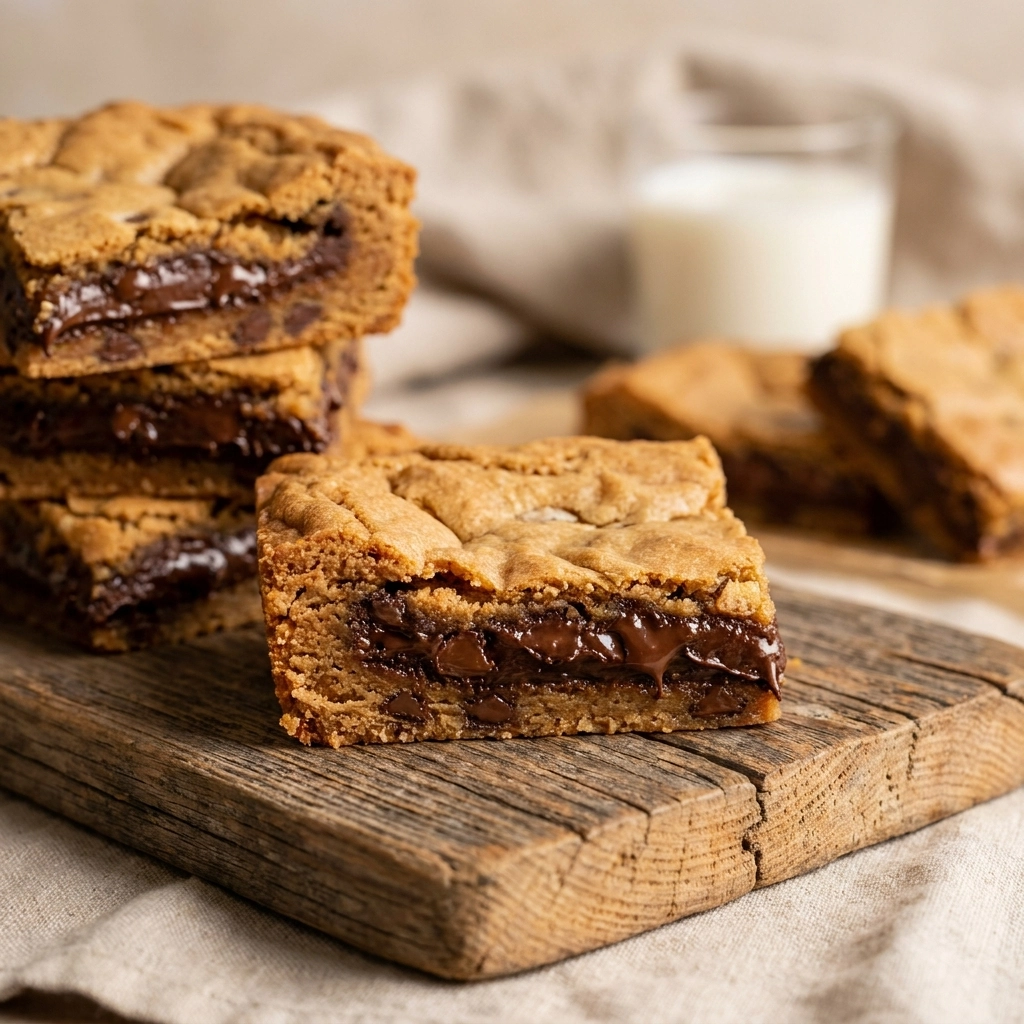
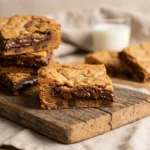
Enter these decadent bars, a hybrid of a soft-baked cookie and a dense fudge brownie.
Readers adore this recipe because it eliminates the tedious process of scooping individual dough balls onto a tray.
The real magic lies in the texture contrast: a slightly crisp, golden edge meeting a center that is almost dangerously gooey.
Compared to store-bought versions, these lack those weird preservatives and actually taste like real, roasted nuts.
Whether you are a stressed parent or a professional snacker, this is your new gold standard.
Let us dive into the ingredients before I eat all the dough. Indulge In No Bake Peanut Butter Chocolate Bars Exquisite
- ●Why You’ll Love This Recipe
- ●A Brief Background / Why This Recipe Works
- ●Perfect For Sweet Tooth Gatherings
- ●Main Ingredient Spotlight: Peanut Butter
- ●Secondary Ingredient Spotlight: Semi-Sweet Chocolate
- ●Key Ingredients
- ●How to Make It
- ●Pro Tips
- ●Delicious Variations
- ●Best Ways to Serve
- ●Storage and Leftovers
- ●Frequently Asked Questions
- ●Why This Recipe Belongs in Your Weekly Rotation
- ●Final Thoughts
There are plenty of cookie recipes in the world, but very few achieve this specific level of salty-sweet harmony.
- ●Zero scooping involved since it is a one-pan bake.
- ●The edges get a caramelized crunch that is addictive.
- ●It uses basic pantry staples you probably already have.
- ●Preparation time is minimal compared to rolled cookies.
- ●The peanut butter provides a rich, nutty depth.
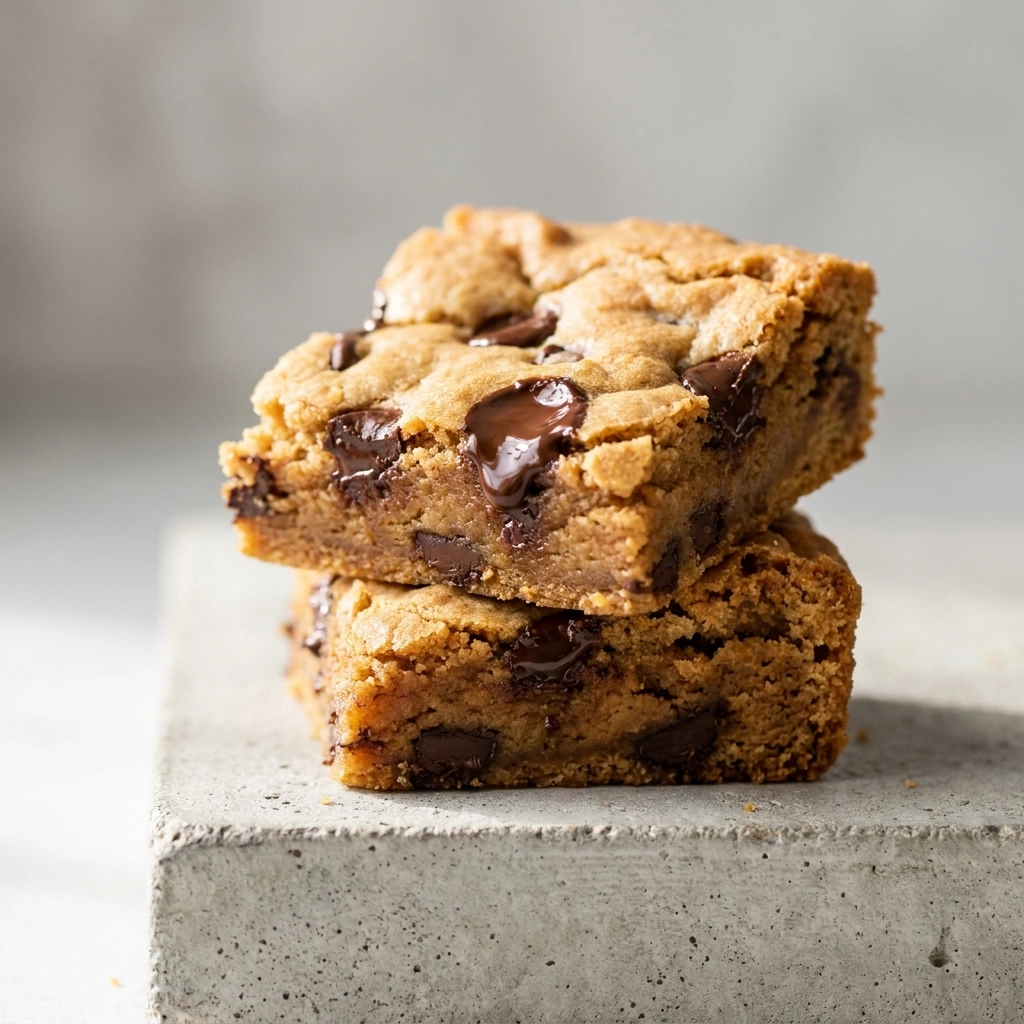
- ●Chocolate chips melt into pockets of gooey lava.
- ●They are sturdy enough for lunchboxes but soft enough for dessert.
- ●Customizable additions like sea salt or nuts are easy.
- ●The aroma while baking is enough to attract neighbors.
- ●It yields a massive amount of servings per batch.
Basically, it is the most efficient way to deliver maximum happiness to your taste buds.
A Brief Background / Why This Recipe Works |
Traditional cookies often suffer from “spread,” where they turn into flat pancakes if the oven is off .
The fat from the peanut butter emulsifies with the butter, creating a moisture barrier that prevents the flour from drying out.
Sugar crystals caramelize against the pan, while the center remains protected and soft.
This balance of chemistry is why you get that professional bakery feel at home. Decadent Creamy Chocolate Peanut Butter Mousse Recipe
Perfect For Sweet Tooth Gatherings |
These bars are a lifesaver for busy weeknights when you need a dessert but don’t have the patience for intricate decorating.
They work brilliantly for meal prep because they stay fresh much longer than individual cookies do.
Family dinners become instantly better when a tray of these is slid onto the table while still warm.
During the holidays, they make an excellent addition to a dessert platter alongside fruit and peppermint treats.
Main Ingredient Spotlight: Peanut Butter |
Peanut butter is the undisputed heavyweight champion of this recipe, providing both the structural fat and the primary flavor profile.
Unlike butter alone, peanut butter adds a salty, roasted dimension that cuts through the sugar of the chocolate.
It also acts as a thickener, ensuring the bars have a satisfying chew rather than a cakey crumb.
Secondary Ingredient Spotlight: Semi-Sweet Chocolate |
Chocolate chips are not just a garnish; they provide the essential bitter contrast to the creamy nut butter.
Using semi-sweet chocolate ensures the bars don’t become cloyingly sweet, which can happen with milk chocolate.
The way the chips hold their shape slightly while melting creates those wonderful pockets of intensity in every bite.
Key Ingredients |
Gather these items from your cupboard before you begin the mixing process.
- ●Creamy Peanut Butter — provides the nutty base and richness.
- ●Unsalted Butter — adds a classic bakery flavor and moisture.
- ●Brown Sugar — creates a deep molasses taste and chewy texture.
- ●Granulated Sugar — helps with the crisp edges and sweetness.
- ●Eggs — bind the ingredients together for structure.
- ●Vanilla Extract — enhances all the other flavors in the mix.
- ●All-Purpose Flour — the skeleton that holds the bars up.
- ●Baking Soda — gives the bars a slight lift so they aren’t bricks.
- ●Semi-Sweet Chocolate Chips — provides the decadent chocolate hit.
 How to Make It |
Let’s get these in the oven before the temptation to eat raw dough wins. Chocolate Chip Cookie Dough Brownie Bites Easy Dessert Bars Recipe
- Prep the pan: Grease your baking pan thoroughly or line it with parchment paper. If you skip the parchment, you might be fighting for your dessert with a spatula later.
- Cream the fats: Beat the softened butter and peanut butter together with the sugars. You want this to look pale and fluffy, not like a chunky paste, which ensures a light texture.
- Incorporate the liquids: Mix in your eggs one stir in the vanilla. Listen for the mixer to sound smoother; if it’s curdling, just keep beating until it emulsifies.
- Whisk the dry stuff: Stir the flour and baking soda into the wet mixture. Stop mixing the second the flour disappears, or you’ll overwork the gluten and end up with “peanut butter bread.”
- Fold in the chocolate: Gently stir in the chocolate chips with a spatula. Make sure they are evenly distributed so no one gets a ‘chocolate-less’ bar, which is a tragedy.
- Press it down: Spread the dough into the pan using a spatula. Press it firmly into the corners, but don’t pack it so hard that it becomes a dense slab of clay.
- Bake to perfection: Slide it into the oven and bake until the edges are golden brown. Do not overbake; the center should still look slightly underdone because it will firm up as it cools.
1A few small tweaks can turn a good batch into a legendary batch.
- ●2Room temperature eggs: Use eggs that aren’t ice-cold to prevent the butter from seizing up.
- ●3Measure flour correctly: Spoon the flour into the cup rather than scooping with the cup itself to avoid packing it.
- ●4The toothpick test: Insert a toothpick in the center; it should come out with a few moist crumbs, not wet batter.
- ●5Cooling patience: Let the bars cool completely in the pan before cutting. Cutting too early leads to a crumbling disaster.
- ●6Salt the top: Sprinkle a pinch of flaky sea salt on top immediately after taking them out of the oven.
7For a different twist, check out Healthy Pumpkin Peanut Butter Oatmeal Bars Easy Fall Breakfast Snacks
Delicious Variations |
Once you master the base, you can start experimenting with these additions.
- ●The Crunch Factor: Add chopped roasted peanuts for extra texture.
- ●White Chocolate Swap: Use white chocolate chips for a creamier, sweeter profile.
- ●Dark Chocolate Depth: Use 70% cocoa chips to make it feel more adult and less like a kid’s snack.
- ●The swirl: Swirl a few tablespoons of melted chocolate on top before baking.
- ●Maple Twist: Replace some of the brown sugar with maple syrup for a woody sweetness.
No matter which version you pick, the core satisfaction remains the same.
Best Ways to Serve |
While these are great on their own, a little presentation goes a long way.
- ●Warm them up for 10 seconds in the microwave and top with a scoop of vanilla ice cream.
- ●Serve them with a cold glass of almond milk or oat milk.
- ●Pair them with a strong espresso to balance the sugar.
For a party, cut them into small 1-inch squares to make them easier to snack on. This also makes the batch last longer, though I doubt it will.
If you are feeling fancy, dust them with a light coating of powdered sugar. Foolproof Irresistible Chocolate Chip Cookie Dough Twists Recipe Wowcooks Com Ultimate Comfort Food Classic
Storage and Leftovers |
Refrigerating
Place the bars in an airtight container and store them in the fridge for up to 7 days. They become denser and fudgier when cold.
Reheating
Pop a square in the microwave for 10 to 15 seconds. This melts the chocolate chips again and brings back that fresh-from-the-oven feel.
Freezing
Wrap individual bars in parchment paper and freeze for up to 3 months. Thaw them in the fridge overnight before eating.
Frequently Asked Questions |
- ●Q: Can I use natural peanut butter that separates?A: Yes, you absolutely can, but you must stir it very thoroughly before measuring. If the oil is still separated when it hits the butter, your bars might turn out too greasy or fail to set properly in the oven.
- ●Q: Why did my bars turn out cakey instead of chewy?A: This usually happens if you use too much flour or over-mix the batter after adding the flour. Over-mixing develops too much gluten, which creates a bread-like structure instead of that dense, cookie-like consistency we are aiming for.
- ●Q: Can I substitute the brown sugar for all white sugar?A: You can, but the flavor and texture will change significantly. Brown sugar contains molasses, which provides the moisture and deep flavor that makes these bars chewy; white sugar will make them crispier and sweeter.
- ●Q: Do I need to chill the dough before baking?A: Unlike rolled cookies, you do not need to chill this dough. Since the pan provides the structure, the dough can go straight from the bowl to the oven without any risk of spreading too thin.
- ●Q: How do I stop the bars from sticking to the pan?A: The best method is using parchment paper with an overhang on the sides. This allows you to lift the entire block of bars out of the pan at once, making the cutting process much cleaner.
- ●Q: Can I make these gluten-free?A: Yes, you can substitute the all-purpose flour with a 1:1 gluten-free flour blend. Ensure the blend contains xanthan gum, otherwise the bars may be too crumbly and fall apart when you try to slice them.
Why This Recipe Belongs in Your Weekly Rotation |
Life is chaotic, and sometimes the only thing you can control is the quality of your snacks.
Having a reliable, one-pan dessert means you can satisfy a craving without spending an hour cleaning up flour from every surface of your kitchen.
These bars are versatile enough for any day of the week, from a Monday pick-me-up to a Sunday family treat.
The combination of peanut butter and chocolate is a timeless pairing that never fails to improve a mood.
It is a low-stress, high-reward baking project that makes you look like a pro with minimal effort. Crowd Pleasing Irresistible Chocolate Chip Cookie Dough Twists Recipe Wowcooks Com Ultimate Comfort Food Classic
Final Thoughts |
These Peanut Butter Chocolate Chip Cookie Bars combine the best parts of brownies and cookies into one easy-to-bake pan.
You should make these because they are foolproof, decadent, and significantly faster than making individual cookies.
Go grab your mixing bowl and treat yourself to a slice of pure, nutty heaven today.
Ultimate Peanut Butter Chocolate Chip Cookie Bars
- Total Time: 40 minutes
- Yield: 16 bars 1x
Description
Decadent, chewy bars that blend creamy peanut butter with melting semi-sweet chocolate chips. A one-pan wonder that is easier than baking individual cookies.
Ingredients
- 1/2 cup unsalted butter, softened
- 1/2 cup creamy peanut butter
- 3/4 cup brown sugar, packed
- 1/2 cup granulated sugar
- 1 large egg
- 1 tsp vanilla extract
- 1 1/2 cups all-purpose flour
- 1/2 tsp baking soda
- 1 cup semi-sweet chocolate chips
Instructions
- Preheat oven to 350F (175C) and grease an 8×8 inch baking pan.
- Cream together softened butter, peanut butter, brown sugar, and granulated sugar until smooth.
- Beat in the egg and vanilla extract until well combined.
- Stir in the flour and baking soda until just combined; do not overmix.
- Fold in the chocolate chips using a spatula.
- Press the dough evenly into the prepared pan.
- Bake for 20-25 minutes until edges are golden but the center is slightly soft.
- Cool completely in the pan before slicing into squares.
- Prep Time: 15 minutes
- Cook Time: 25 minutes
- Category: Dessert
- Method: Baking
- Cuisine: American