Introduction |
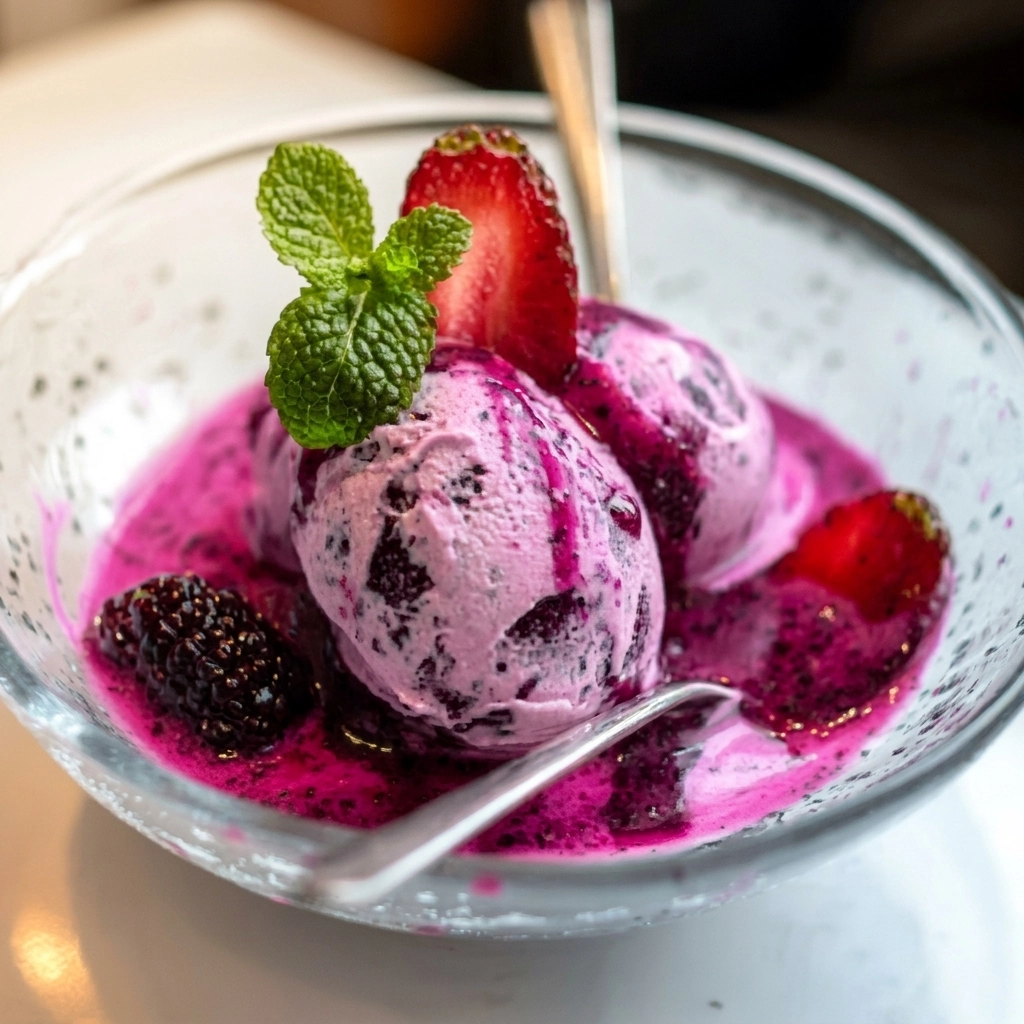
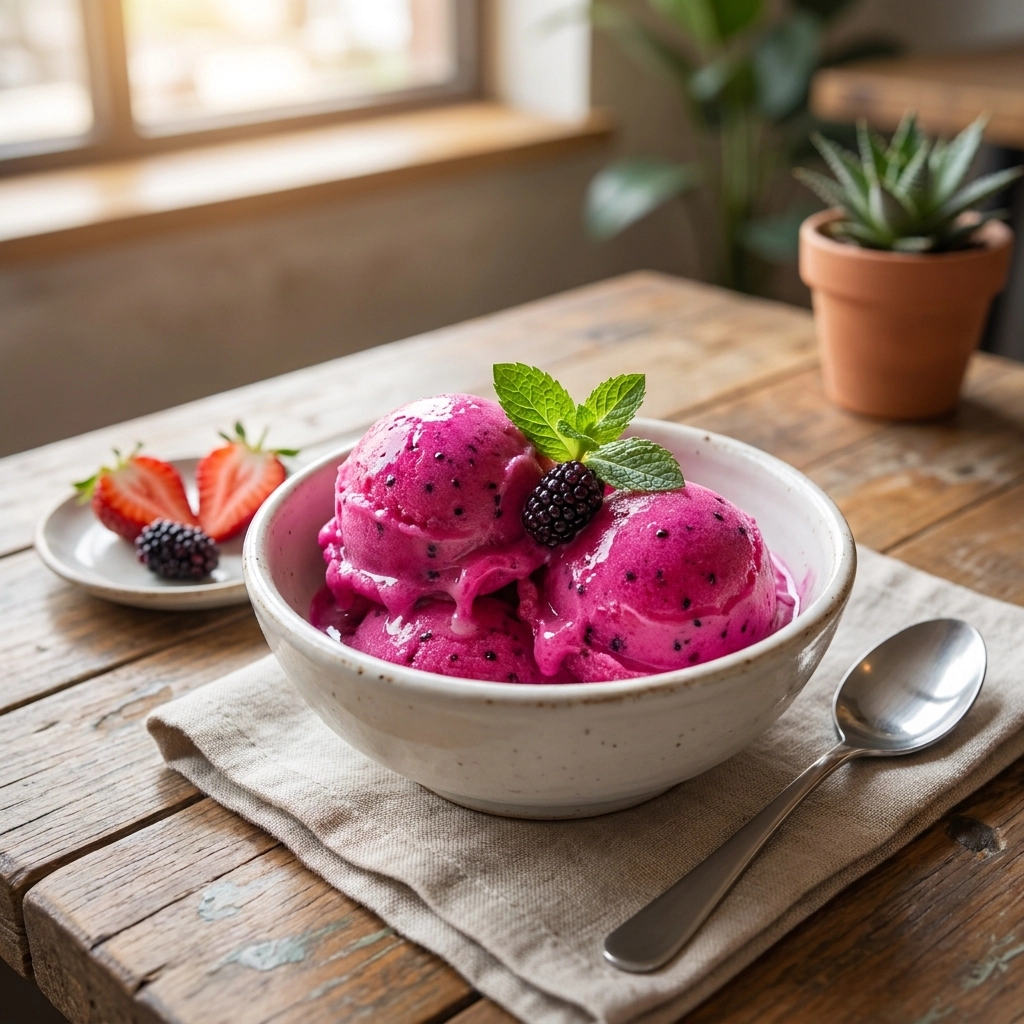
The first time I whipped this together, the kitchen was filled with the scent of ozone and salt air from an open window. I remember the jarring contrast of the neon pink fruit against the stark white of the porcelain bowl, a visual shock that promised something otherworldly before the first spoonful even touched my tongue.
My cousin Elena, who possesses a discerning palate for botanical flavors and avoids all refined sugars, would find this specific preparation irresistible. It captures the essence of a tropical getaway without the heavy cream or artificial syrups that often plague frozen desserts, relying instead on the raw power of the pitaya.
- ●The striking natural pigment creates a visually stunning presentation for guests.
- ●It utilizes a minimal ingredient list to highlight the fruit’s authentic profile.
- ●The texture remains smooth and velvety without the need for heavy dairy.
- ●It provides a hydrating, cooling experience during peak humidity.
- ●The recipe is adaptable to different varieties of dragon fruit, from red to white.
Essential Ingredients |
Red Dragon Fruit provides the primary structure and the deep magenta color; its mild sweetness acts as the foundation while the tiny seeds add a subtle, poppy texture.
Maple Syrup functions as a cryoprotectant, lowering the freezing point of the mixture to ensure the sorbet doesn’t turn into a solid block of ice.
Fresh Lime Juice introduces citric acid, which cuts through the sugar and brightens the muted notes of the dragon fruit, creating a balanced flavor profile.
Cold Water adjusts the viscosity of the puree, ensuring the mixture is fluid enough to incorporate air during the churning process for a lighter mouthfeel.
 Let’s Make it Together |
- Dice the dragon fruit into small cubes and place them into a high-speed blender. You’ll notice the fruit is quite moist, so avoid adding extra liquid too early to keep the flavor concentrated.
- Pulse the fruit with the maple syrup and lime juice until the mixture is completely smooth. Look for a consistent, glossy sheen and ensure no large chunks of fruit remain to prevent icy pockets.
- Strain the puree through a fine-mesh sieve if you prefer a seedless experience. The liquid should flow like a thick syrup; skipping this step leaves a rustic, textured finish.
- Pour the mixture into a chilled bowl and freeze for 30 minutes. The edges should start to crystallize slightly, which prepares the base for a more efficient churn.
- Transfer the semi-frozen mixture into your ice cream maker and churn according to the manufacturer’s directions. You should hear the motor change pitch as the sorbet thickens into a soft-serve consistency.
- Scoop the sorbet into a freezer-safe container and press a piece of parchment paper directly onto the surface. This prevents the formation of large ice crystals on top during the final hardening phase.
Always use the red-fleshed variety for that iconic neon color.
Over-churning the mixture can introduce too much air, making it fluffy rather than dense.
Avoid using honey as a substitute for maple syrup because it can crystallize too harshly.
Ensure your blender is powerful enough to liquefy the fruit completely.
Cold bowls prevent the fruit from warming up during the blending process.
Perfecting the Cooking Process |
You’ll notice that temperature control is the most critical variable in this process. If the base is too warm when it hits the churner, the ice crystals will grow larger, resulting in a grainy texture rather than a smooth glide. Aim for a base temperature of approximately 40 degrees Fahrenheit before starting the machine.
Trust your nose here; the lime juice should provide a sharp, clean scent that balances the earthiness of the fruit. If the aroma feels too heavy or dull, add an extra teaspoon of lime juice to lift the acidity. This chemical balance is what separates a homemade treat from a professional culinary creation.
Add Your Touch |
Your palate might crave a bit more complexity, so consider folding in finely minced fresh mint leaves during the last two minutes of churning. This adds a cooling, herbaceous layer that complements the sweetness of the maple syrup and the tartness of the lime.
For those who prefer a tropical twist, substitute half of the dragon fruit with frozen mango or raspberries. This alters the flavor profile toward a more traditional fruit punch style while maintaining that signature vibrant color and creamy texture.
Storing & Reheating |
Store the sorbet in an airtight container in the deepest part of your freezer, where temperature fluctuations are minimal. It will maintain its peak quality for up to two weeks; however, beyond this point, the edges may develop freezer burn or lose their vivid color due to oxidation.
Do not attempt to reheat this dish, as it will simply collapse into a syrup. To achieve the correct serving consistency, allow the container to sit on the counter for 5 to 10 minutes before scooping. This tempering process ensures the sorbet is supple and scoopable without melting into a puddle.
1Chill your serving bowls in the freezer for 20 minutes to prevent immediate melting.
2Use a warm metal scoop to create clean, professional spheres of sorbet.
3Avoid adding salt to the mixture as it can clash with the delicate fruit notes.
4Sift your maple syrup if using a very thick, artisanal grade for better blending.
5Garnish with a slice of fresh kiwi for a stunning color contrast on the plate.
FAQ |
- ●Q: Can I make this without an ice cream maker?A: Yes, you can freeze the mixture in a shallow pan and stir it vigorously with a fork every 30 minutes for four hours. This manual aeration breaks up ice crystals, though the result will be slightly less smooth than a machine-churned version.
- ●Q: Which dragon fruit is best for this recipe?A: The red-fleshed variety is strongly recommended because it contains a higher concentration of natural pigments and a slightly more intense flavor. White-fleshed dragon fruit works but results in a pale, muted color that lacks visual impact.
- ●Q: How do I prevent the sorbet from becoming too hard in the freezer?A: The maple syrup acts as a natural antifreeze freezing point of the water in the fruit. Ensure you do not reduce the amount of syrup, as this is the key to maintaining a scoopable consistency.
- ●Q: Is this recipe suitable for a vegan diet?A: Absolutely, as it relies entirely on plant-based ingredients like fruit and maple syrup. It is a sophisticated alternative to dairy-based ice creams, offering a clean finish that doesn’t linger heavily on the palate.

Refreshing Dragon Fruit Sorbet Recipe for Summer Bliss
- Total Time: 4 hours 20 minutes
- Yield: 4 servings 1x
Description
A vibrant, dairy-free frozen treat featuring the bold color and mild sweetness of red dragon fruit, balanced with zesty lime.
Ingredients
- 2 cups red dragon fruit, cubed
- 1/3 cup maple syrup
- 1 tablespoon fresh lime juice
- 2 tablespoons cold water
Instructions
- Blend dragon fruit, maple syrup, and lime juice until smooth.
- Strain the mixture through a sieve for a seedless texture.
- Chill the puree in the freezer for 30 minutes.
- Churn in an ice cream maker until soft-serve consistency.
- Transfer to a container and cover with parchment paper.
- Freeze for at least 4 hours before serving.
- Prep Time: 20 minutes
- Cook Time: 4 hours (freezing)
- Category: Dessert
- Method: Churning
- Cuisine: Tropical